
Water Damage and Hardwood Floors
Step One Stop the Cause
Updated April 26, 2021
Water damage in your home can be devastating. Let’s talk about what to do in the event of water infiltration causing issues with your hardwood floors. Damage can occur from many sources such as the aftermath of flooding caused by ice dams, faulty appliances, burst pipes or another incident in your home or office. First and foremost, you must stop the source of water. Second and equally important you must dry the floors with the use of fans, blowers and dehumidifiers. The final step is repairing and refinishing your floors.
Water and Wood
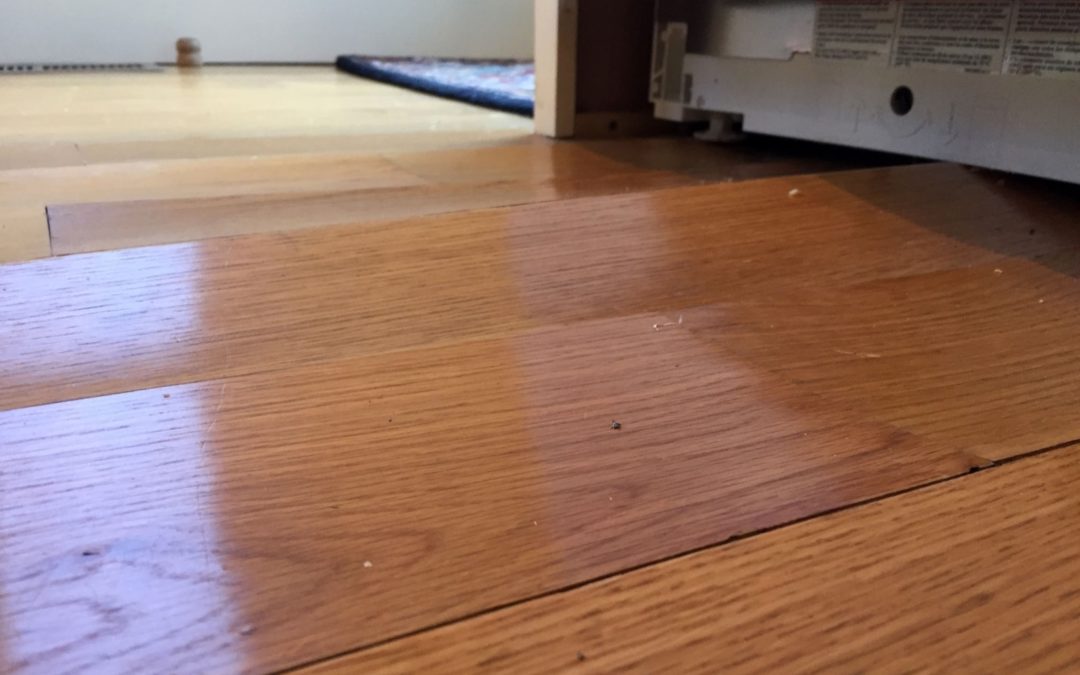
Water damage happens when water is allowed to saturate a wood floor often the result is a condition referred to as cupping. This happens because more moisture is absorbed by the unfinished underside of the boards causing the bottom of each board to expand more than the top. The result is a wavy appearance and each course of wood is raised at the seams.
Step Two – Drying
The hardest part when dealing with water damaged floors is the waiting. You must patiently wait for the floors to dry out. If the floors are cupped like a washboard they may flatten out with time and you may avoid replacement. After about one week of drying your cupped floors, give your flooring contractor a call. The contractor will take a moisture test and depending on the reading you may simply wait a couple more weeks for another round of tests.
Once the moisture content of the damaged boards stabilizes with the surrounding unaffected floors moisture reading refinishing or patching can commence. the biggest mistake is to sand the floors while they are still wet and cupped. If a floor is sanded before it is fully dried, it will be flat initially, but there will be problems down the road. When the floor eventually dries out, you will get the reverse effect of the cupping referred to as crowning.
In a case where the floor boards peak up off the floor 4-5” chances are your floors will need to be replaced. In this case the floors need to be removed and the area needs to dry out thoroughly before laying new floors.
Step Three Repair, Replace or Refinish
The final step, returning the shine and luster to your wood floors. Depending on the severity of the damage, your floors may only need to be refinished. In some cases patching is required to replace the damaged boards prior to refinishing. In the worst case scenario, the entire floor need to be removed and replaced.
Prevent Damage
Sometimes the cause of water damage is beyond our control but sometimes we can take simple steps to prevent accidental water damage.
Promptly clean up any water spills or pooling of water on your floors. When you see any signs of moisture, grab a clean, dry cloth or mop immediately. Quick action will minimize or eliminate any impact on your floors.
Keep your floors in good repair. Floors that have lost their protective coating of polyurethane are susceptible to damage more readily than floors with a layer of polyurethane. A maintenance coating is recommended especially in high traffic areas every 3-4 years.
When cleaning your floors remember to never use excessive water or cleaning solution. A string mop is not recommended as this type of mop holds too much liquid. Take care when cleaning your wood floors because excessive amounts of water can be absorbed by the grain in the wood.
Check your plumbing and fixtures. Keep an eye on your plumbing and if in doubt call in an expert to be sure fittings and fixtures are in proper working order. Always have a professional install your appliances.
When away have a neighbor or friend walk thru your house to be sure heat is to temperature (in the winter months) and that there are no other issues that need tending. If away for an extended time, it may also be prudent to turn the water main off to your home.